Getting Started with Ruby and an AWS Managed Kafka Server

I am in the position of building a data pipeline that looks like this:
- Kafka as the core repository using an AWS Managed Kafka Server
- A data feed from Twitter feeding into Kafka using the ruby-kafka gem from Zendesk
- Python Machine Learning routines processing the data in Kafka and outputting it to SQS
In this blog post I will walk through creating the Kafka server and then show you the initial configuration to get Ruby to talk to it.
Core Assumptions
Here are the core assumptions:
- AWS Managed Kafka Instance in the same VPC as an EC2 Instance
- Ruby 2.7
- Minimal ruby script; just enough to connect and put one thing into a topic
AWS Kafka Pricing
The baseline pricing for an AWS kafka.m5.large cluster is: 0.21 / hour without factoring in storage. 0.21 / hour means nothing to me so here's the calculation:
- 0.21 * 24 = $5.04 / day
- 0.21 * 24 * 7 = $35.28 / week
- 0.21 * 24 * 30 = $151.20 / month
- 0.21 * 24 * 365 = $1839.60 / year
Whether or not this is a good deal depends on your budget and application but what I can tell you is that the AWS Managed Kafka is phenomenally easy to setup and get started with.
Note: Read thru the creation process below because I suspect it has pricing implications.
Creating the Kafka Instance
The new Managed Kafka service from AWS makes creating a Kafka instance absolutely trivial. You do need to know the VPC id of your instance to make things easier. You want to start here to create a Kafka cluster. Here are screenshots of the entire creation flow along with notes on anything I thought relevant.
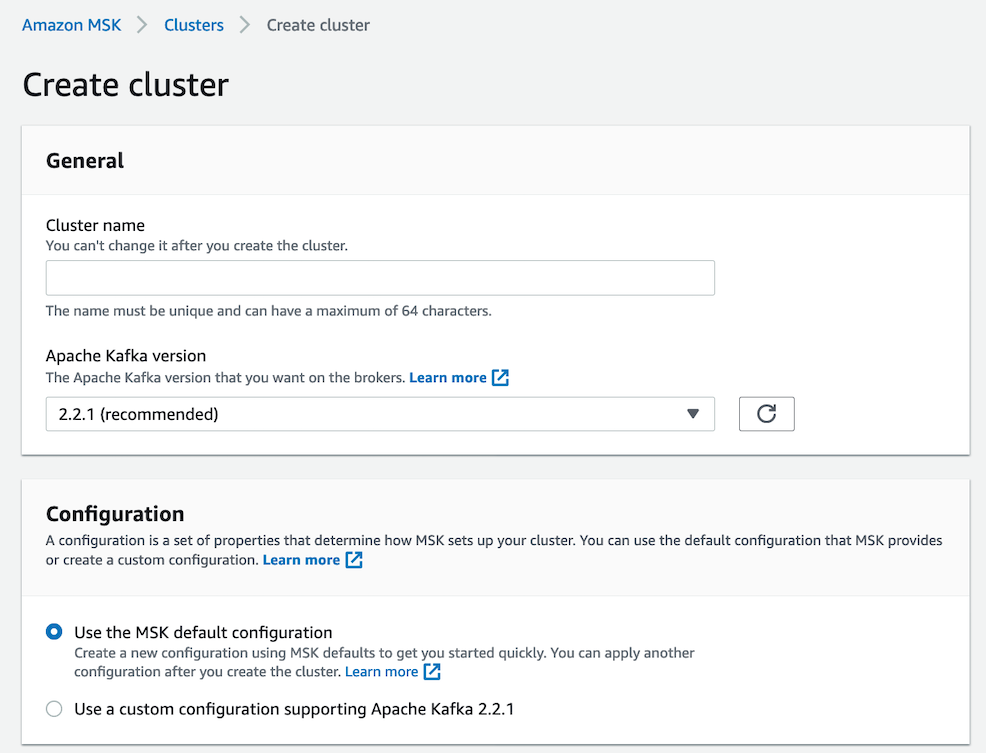
Naming your Kafka cluster is pretty simple and unless you are an expert I'd go with the standard configuration. AWS sometimes lags behind on their versions of open source stuff so keep that in mind.
The standard configuration options are generally pretty good. I might argue that auto.create.topics.enable should be enabled by default but that's a debatable point and really one tied to application needs.
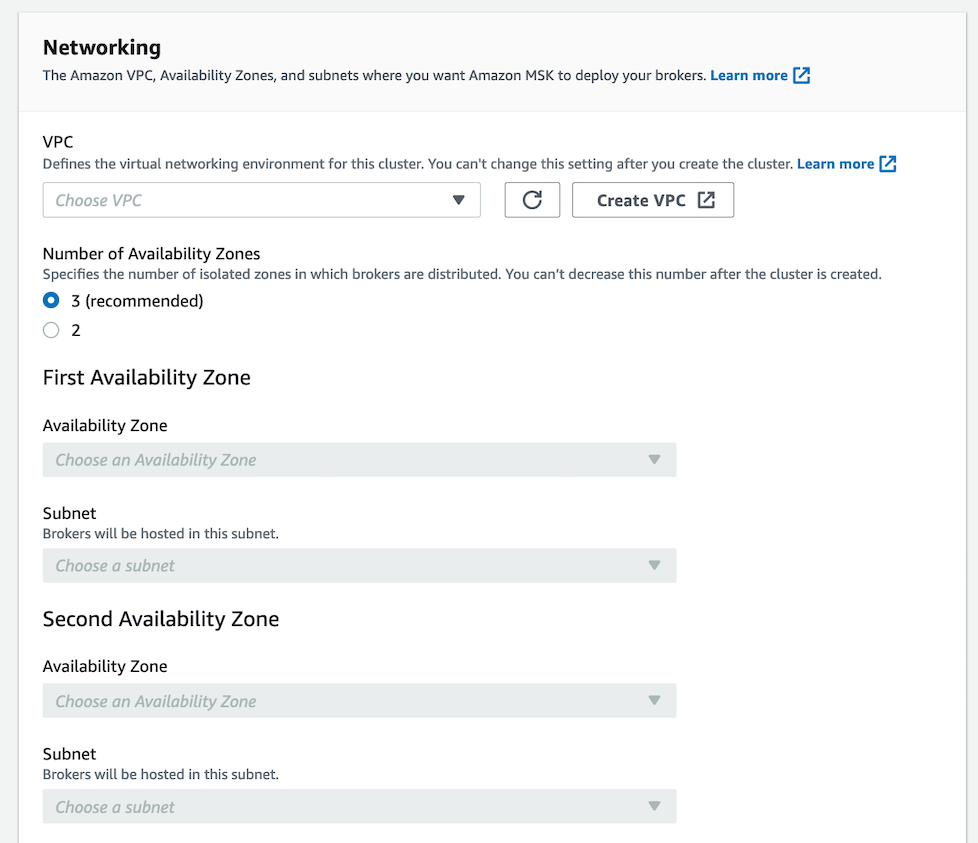
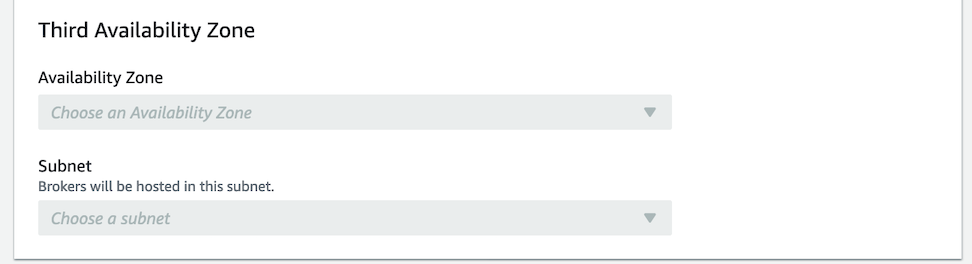
The networking options are where you likely will get into trouble. You want to:
- Choose the same VPC as your instances
- Match the availability zones per your needs
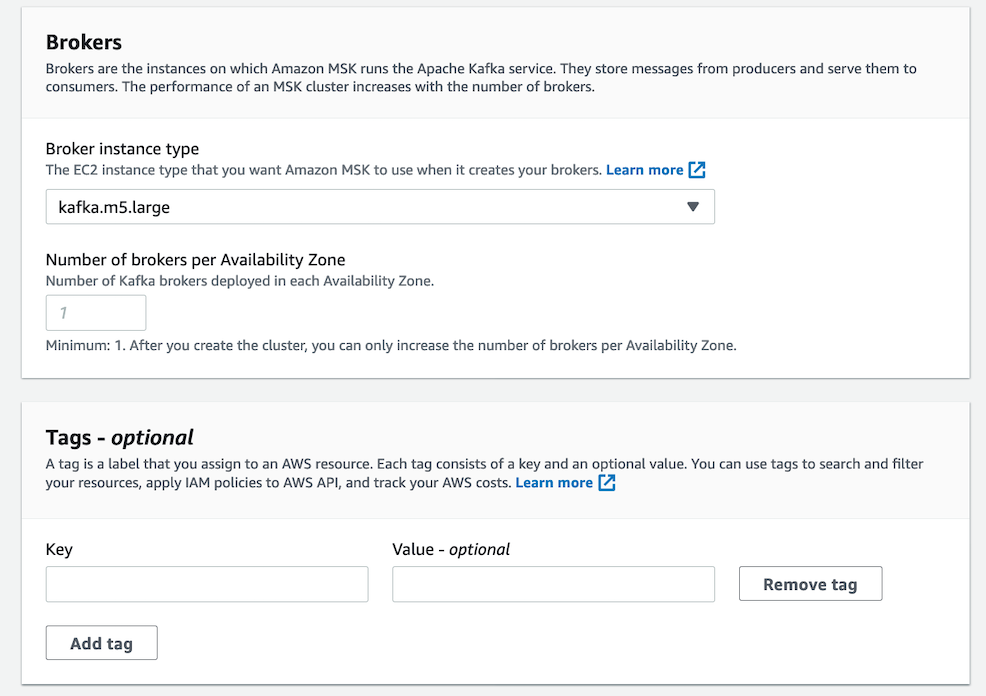
Unless you are experienced at Kafka and can estimate your needs, I'd recommend setting the broker size to the minimum. You automatically end up with a broker in each availability zone:
Your cluster will have 2 total brokers, distributed evenly across your 2 Availability Zones.
Given that the broker is described as "kafka.m5.large" which is also the item in the pricing page, it occurs to me that perhaps my pricing above needs to be doubled (if 2 availability zones) or tripled (if 3 availability zones). This is unclear to me and I'm not sure if I'll know until I see a bill.
I added a Name tag matching the name of the project and a Type tag of 'kafka' to better help understand the bill.
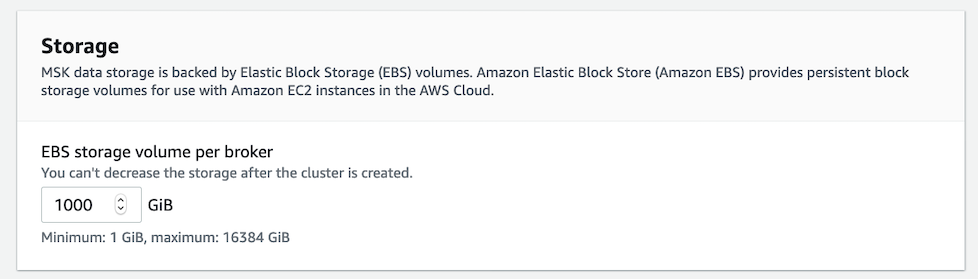
The default storage is 1000 gb (so 1 terabyte). I have no idea if this is enough storage or too little but you can't decrease it so I left it at the default.
Also:
EBS storage volume per broker. You can't decrease the storage after the cluster is created.
My guess is that whatever the storage bill is, it is either doubled or tripled based on the number of availability zones.
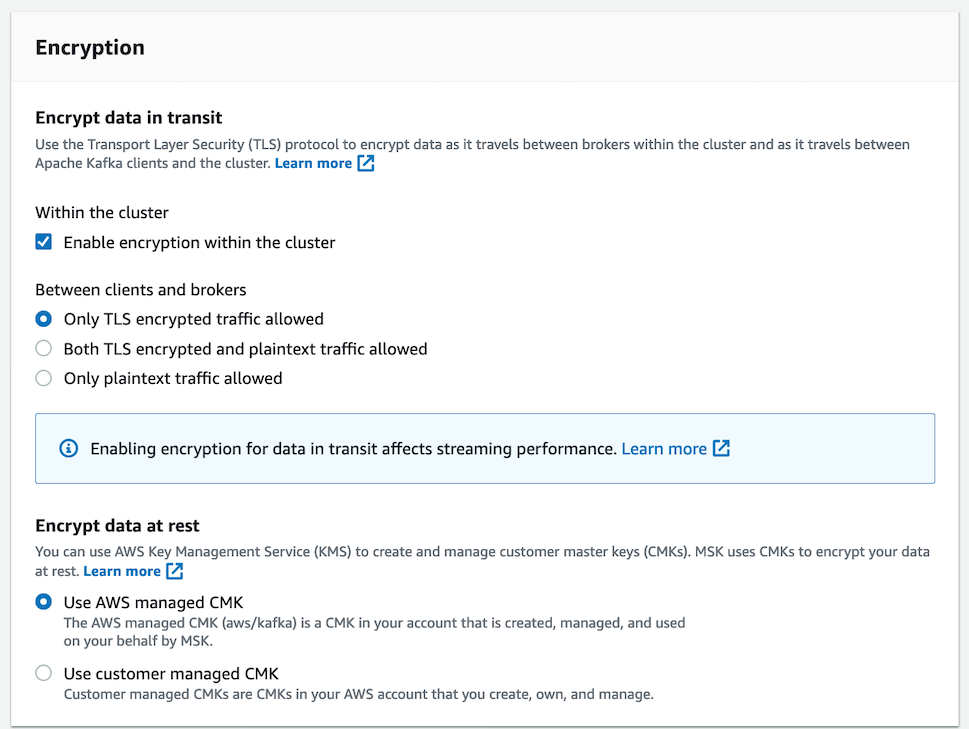
For this application which isn't particularly secure (it is based on public data from the Internet), I turned off most of the encryption options.
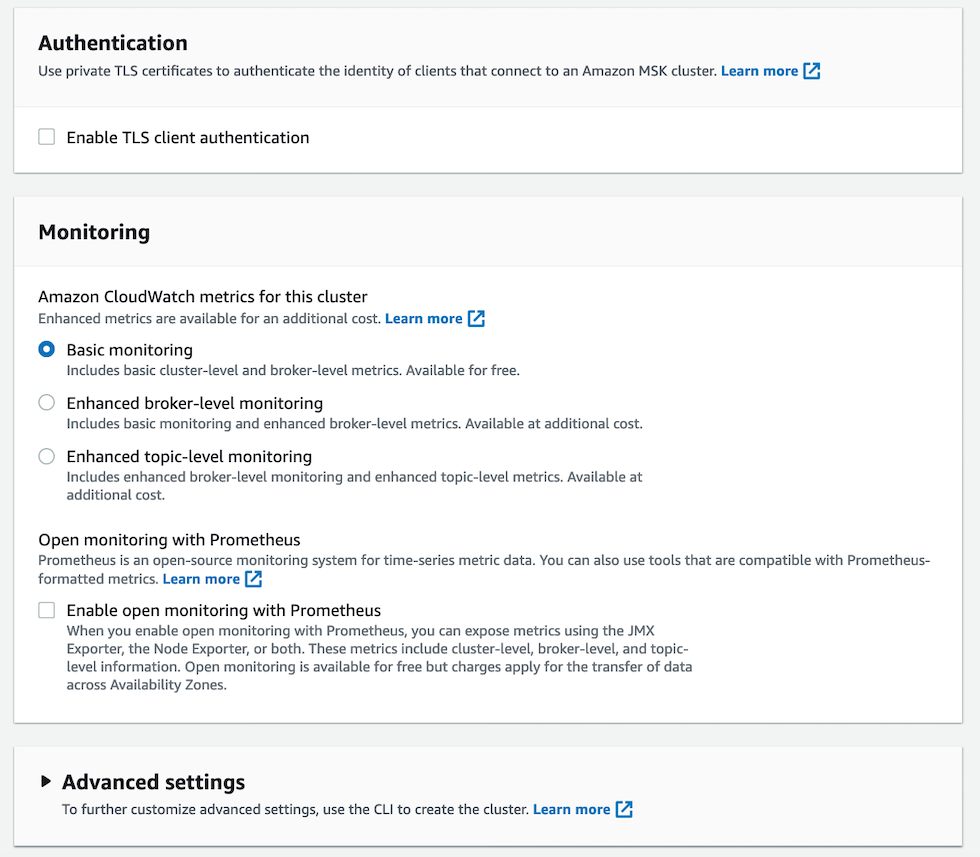
I turned on most of the monitoring options down to the Topic level. I also setup the Grafana option so that I can monitor down to the CPU / Disk level.
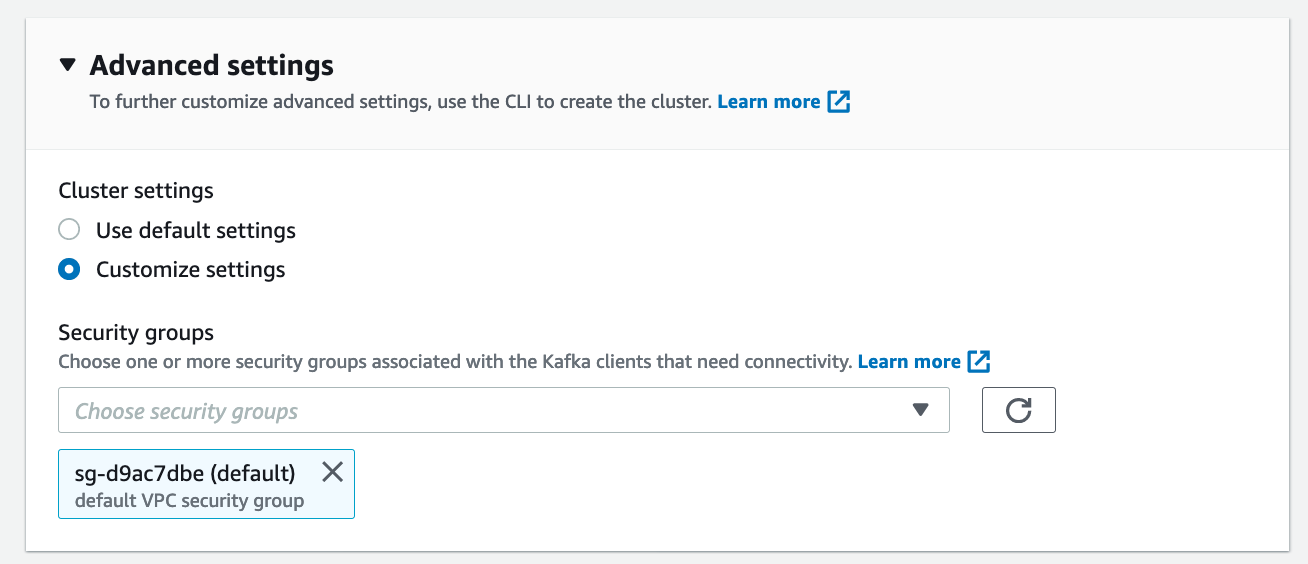
Important: The Advanced settings option is the one I missed the first time around. I set this to be the same security group as I use for my instances. You don't have to use the same security group but if you aren't an AWS networking guru (and I'm not), this is very, very helpful.

Just click the Create Cluster button and wait for a bit for your cluster to be created.
Once Your Cluster Is Created
Once creation is complete the you want to click the View Client Information button at the top of the Details tab and you'll get something like this:
b-2.ohi.88aa.c4.kafka.us-east-2.amazonaws.com:9092,b-1.ohi.qwq88.c4.kafka.us-east-2.amazonaws.com:9092
Note: These aren't my actual kafka details but, even if they were, it wouldn't matter because unless you are part of my AWS security group (or I open it to the world) then you can't get access.
Getting Your Security Groups Right
I made things a lot easier by using the same security groups for my instance that is going to write to kafka and my kafka cluster. But, what I found, is that I would get connection errors like these:
Kafka::ConnectionError (Could not connect to any of the seed brokers:)
- kafka://b-2.ohi.aaaddd.c4.kafka.us-east-2.amazonaws.com:9092: Connection timed out
- kafka://b-1.ohi.aaaddd.c4.kafka.us-east-2.amazonaws.com:9092: Connection timed out
whenever I tried to do anything with my kafka cluster. What I found was an answer at the security group layer here. I have not seen this referenced anywhere else and here is my write up on what to do:
- Find the VPC that your instance and your security group are using (you will need to confirm this on your instance settings and your kafka settings).
- Open the AWS VPC console here.
- In the navigation pane, choose Security Groups. In the VPC ID column of the security groups, find the row that contains the ID you found in Step 1 and the Description column has the value default VPC security group. Choose this row by selecting the check box in the first column.
- In the Inbound Rules tab, choose Edit rules.
- Choose Add Rule.
- In the new rule, choose All traffic in the Type column. In the second field in the Source column, enter the ID of the security group of the client machine. This is the group ID that you saved earlier.
- Choose Save rules.
And that magically made connectivity to my Kafka cluster work. Sigh.
Ruby Script
Here are three basic ways you can test connectivity to your kafka cluster with the ruby kafka gem.
Test Script 1 - Try and Get the Topics
Kafka divides where your content goes into "topics" (think buckets). Here's how to get those topics back as an array:
config = ["b-2.ohi.eee.c4.kafka.us-east-2.amazonaws.com:9092","b-1.ohi.fff.c4.kafka.us-east-2.amazonaws.com:9092"]
kafka = Kafka.new(config)
kafka.topics
Test Script 2 - Try and Put Something in a Non Existent Topic
Even if this fails due to a non existent topic, it should fail correctly (i.e. that the topic doesn't exist not that it can't connect to kafka).
config = ["b-2.ohi.eee.c4.kafka.us-east-2.amazonaws.com:9092","b-1.ohi.fff.c4.kafka.us-east-2.amazonaws.com:9092"]
kafka = Kafka.new(config)
result = kafka.deliver_message("foo", topic: "bar")
Test Script 3 - Higher Performance Delivery of Messages
This approach, from the ruby-kafka documentation, is supposed to be a higher performance approach.
config = ["b-2.ohi.eee.c4.kafka.us-east-2.amazonaws.com:9092","b-1.ohi.fff.c4.kafka.us-east-2.amazonaws.com:9092"]
kafka = Kafka.new(config)
# Instantiate a new producer.
producer = kafka.producer
# Add a message to the producer buffer.
producer.produce("hello1", topic: "test-messages")
# Deliver the messages to Kafka.
producer.deliver_messages
Note: I haven't delved deeply enough into the docs yet to understand the real differences between #2 and #3 particularly in a streaming context.